Find a Pallet
The first thing you need to do is–obviously–find a pallet. I’ve had good luck finding them in dumpsters behind supermarkets. No need to be squeamish. It doesn’t smell. At least, it doesn’t smell that bad. Don’t just take the first pallet you find. You’re looking for one with all the boards in good condition, no nails sticking out, no rotting, etc. If you intend to put edibles in your pallet, be sure to find one that was heat treated as opposed to fumigated with pesticides.
Collect Your Supplies
For this project, you’ll need the pallet you found, 2 large bags of potting soil, 16 six packs of annual flowers (one six pack per opening on the face of the pallet, and two six packs per opening on the top of the completed pallet garden), a small roll of landscape fabric, a staple gun, staples, and sand paper.
Get Your Pallet into Shape
Once you’ve dragged your pallet home, give it a once over. Are any of the boards a little loose? Is the wood chipping in places? Nail down any loose boards, and use sand paper to smooth down any rough spots.
Let the Stapling Begin!
Decide which side of the pallet will be the bottom when the pallet garden is completed and leaning against the wall. You are going to be covering the bottom, back, and sides with landscape fabric, leaving the spaces between the slats and the top uncovered (you’ll be planting flowers in the uncovered spaces).
Lay the pallet face down. Roll the landscape fabric over the back. Cut two identically sized pieces that are long enough to go from the top edge of the back of the pallet and wrap all the way around the bottom, plus a few extra inches.

Hold the two pieces of landscape fabric together as if they were one piece of fabric. Fold over the top edge by one inch and center it on the top board of the back of the pallet. Staple the fabric into place near the top edge of the top board. Smooth the fabric out to the left and right and pull it taut. Staple the fabric down on the top, right edge of the top board. Repeat on the left side. Fill in between those three staples with one staple every two inches along the top edge of the top board.
When the top of the landscape fabric is securely attached to the top, back board, smooth the fabric down, and repeat the process along the bottom edge of the bottom board, except don’t fold the fabric under, leave a long flap on the bottom.
Pulling the fabric tautly along the bottom, fold the cut edge under, andstaple the fabric down along the front edge of the bottom. Smooth the fabric out to the left and right and staple every two inches along the front edge of the bottom.
Now for the sides. Start near the bottom and fold the excess fabric inwards as if you were wrapping a present. Fold the cut edge of the fabric under and staple it down near the front, bottom edge of the side facade. Smooth the fabric out and place a staple every two inches along the front edge of the side of the pallet. The fabric should be taut but not in danger of tearing. Repeat on the other side of the pallet.

You should now have a pallet with landscape fabric wrapped around the sides, back, and bottom. Place more staples along the spine of the back side of the pallet, and anywhere else you think the fabric needs to be held down so that soil can’t creep into places you don’t want it to go.
Now for the Fun Part–Planting!
Bring the pallet close to wherever it’s final spot will be and lay it down face up. You’re going to plant it while it’s laying flat on the ground.

First slide the plants into what will be the top. Plant everything very tightly, you should have to practically shoe horn the last plant into place. Now that you have capped the top, pour the entire first bag of potting soil on top of the pallet. Push the soil into the pallet between the slats and smooth it out so that the soil is level. Repeat with the second bag of potting soil.

Push potting soil into the bottom cavity, so that there is a trench directly below one of the bottom openings. Plant six plants in the trench, so that they are very tightly fitted into the opening. Repeat with the other bottom opening. Now push the potting soil up against those flowers you just planted, making a trench beneath one of the openings in the second row. Plant your flowers tightly in that opening. Repeat for all the remaining openings.

When you’re done planting, you should have plants that are completely covering every opening (i.e. there shouldn’t be any place for soil to fall out). There should also be soil firmly pushed into every part of the pallet where there aren’t plants.
Caring For your Pallet
Now, I’m going to tell you what you should do, and I what I always end up doing (which is what you should not do). You should leave the pallet flat on the ground for a couple of weeks (watering when needed), so that the roots can start to grow in and hold all the plants in place. I can never wait though, so I always tip the pallet upright a few days after planting. Some soil does fall out, but it seems to be okay. But I think it would be better if you left it to settle and only tipped it upright after a few weeks. Do as I say, not as I do.

Water your pallet regularly, they dry out quickly. Pay special attention to the bottom two openings, they seem to be the driest. Fertilize with water soluble fertilizer added to your watering can (follow package instructions for amount and frequency).
_______________________________________________________________________________________________
 Summer is waning, and since I am a diehard autumnal girl, I’d usually be very excited by now. But I have to be honest — this lush and vibrant pallet vertical garden is making me want to stay in summer for another month or two. There have been many pallet projects and many vertical garden projects, but none combine the two elements as well as this tutorial developed by Fern Richardson of Life on the Balcony and recreated by Steph of the local spoon. I like this so much, I might have to squeeze it in before I focus entirely on fall projects. — Kate
 There is nothing more adorable than little baby succulents. I happened to have a teeny porch desperately in need of love that didn’t get a lot of sun, so succulents were the perfect low-water, low-light choice. I also loved the idea of making something out of a pallet, one of those items you see everywhere — you have to wonder what happens to all of them, and I was excited to give one a purpose and home on my neglected porch. It transformed the space and was easy and lots of fun to make (the best part of all might have been my trip to the nursery where I could buy adorable baby succulents to my heart’s content).— StephanieMaterials
- a pallet (I found mine for free at a local garden store — mine measured 25 x 38 inches)
- roll of landscaping paper (this can be quite expensive, but you don’t need as much as comes in a typical landscaping roll, so you might be able to find someone’s excess on Craigslist or at a local garden shop)
- sandpaper
- staple gun and staples
- hammer and nails
- potting soil (I used 2.5 cubic feet for the 25 x 38 pallet)
- adorable succulents or other plants of choice
Instructions
1. Sand down any rough spots on your pallet. If the back of your pallet doesn’t have much support (mine was basically open on the back), find some scrap wood, roughly 3 to 4 inches wide and 1/4 inch thick (or the thickness of the rest of your supports) and cut it down to the width of your pallet. Using two nails on each side, add supports so they are roughly even down the back of your pallet.
2. Double or triple up your landscaping fabric and begin the stapling fun. Staple fabric along the back, bottom and sides of the pallet, taking care at the corners to fold in the fabric so no soil will spill out. (See photos for details on folding corners.)


3. Lay the pallet flat and pour potting soil through slats, pressing soil down firmly. Leave enough room to begin planting your succulents.


4. Begin planting, starting at the bottom of the pallet and ending at the top. Make sure soil is firmly packed in each layer as you move up. Add more soil as needed so that plants are tightly packed at the end.


5. Water your wall garden thoroughly and let it remain horizontal for 1 to 2 weeks to allow plants to take root. After 1 to 2 weeks, you can set it upright.

Note: Remember when you water to start at the top and water each subsequent section a little less, as your water will naturally seep through to the bottom-most plants.

 Enjoy!



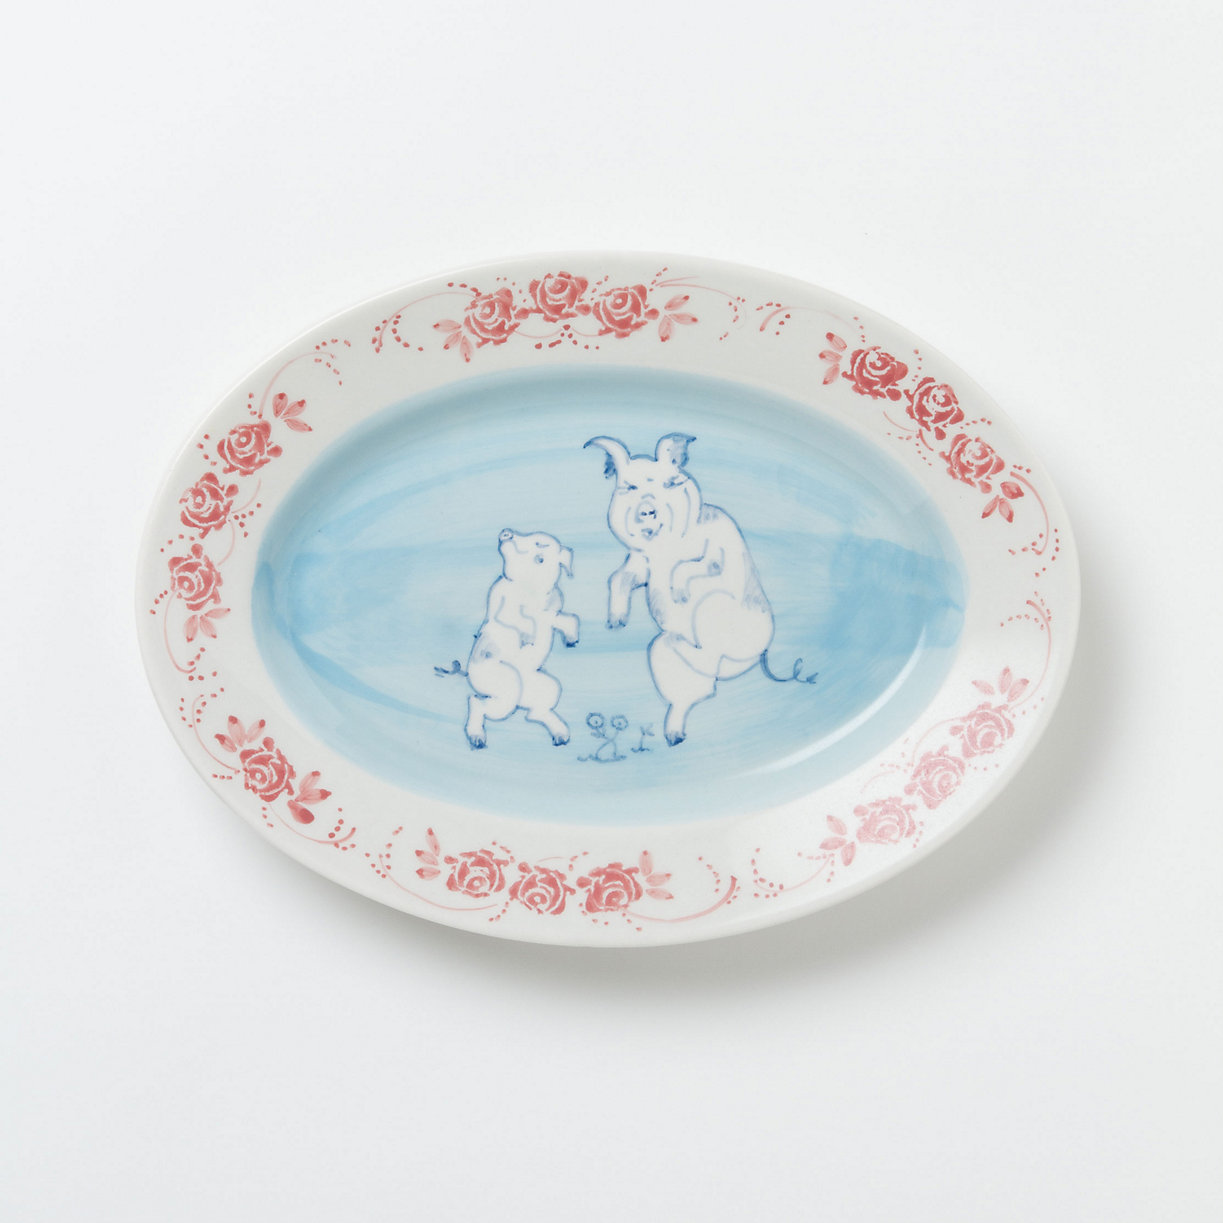 Pigs dance a jig.[/caption]
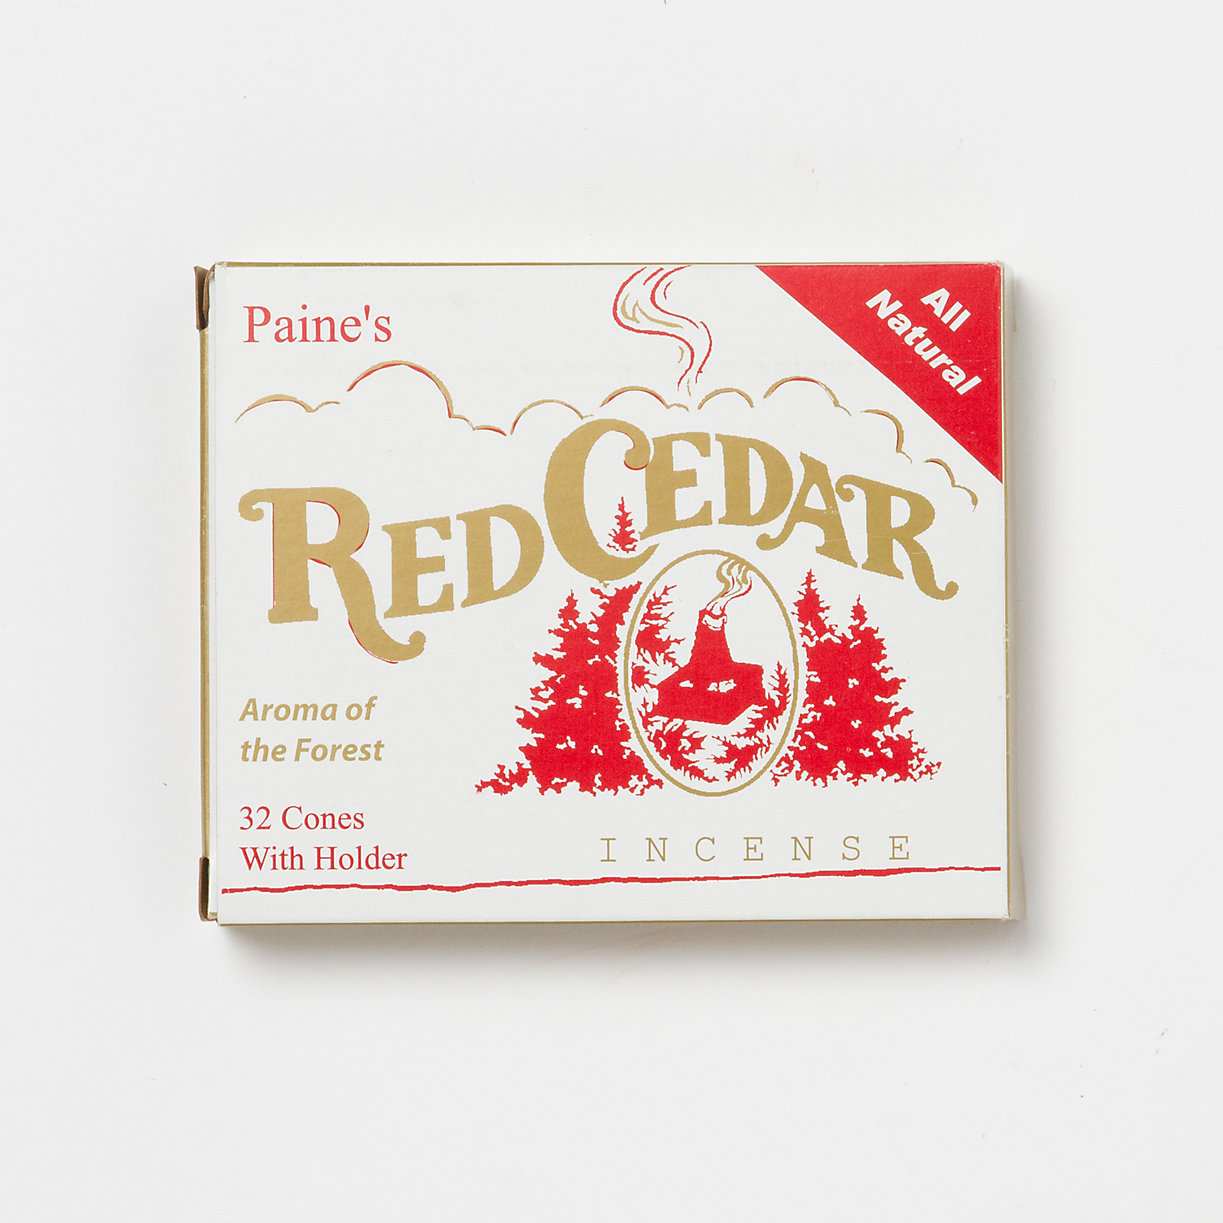 32 Cones with Holder! YES please.[/caption]
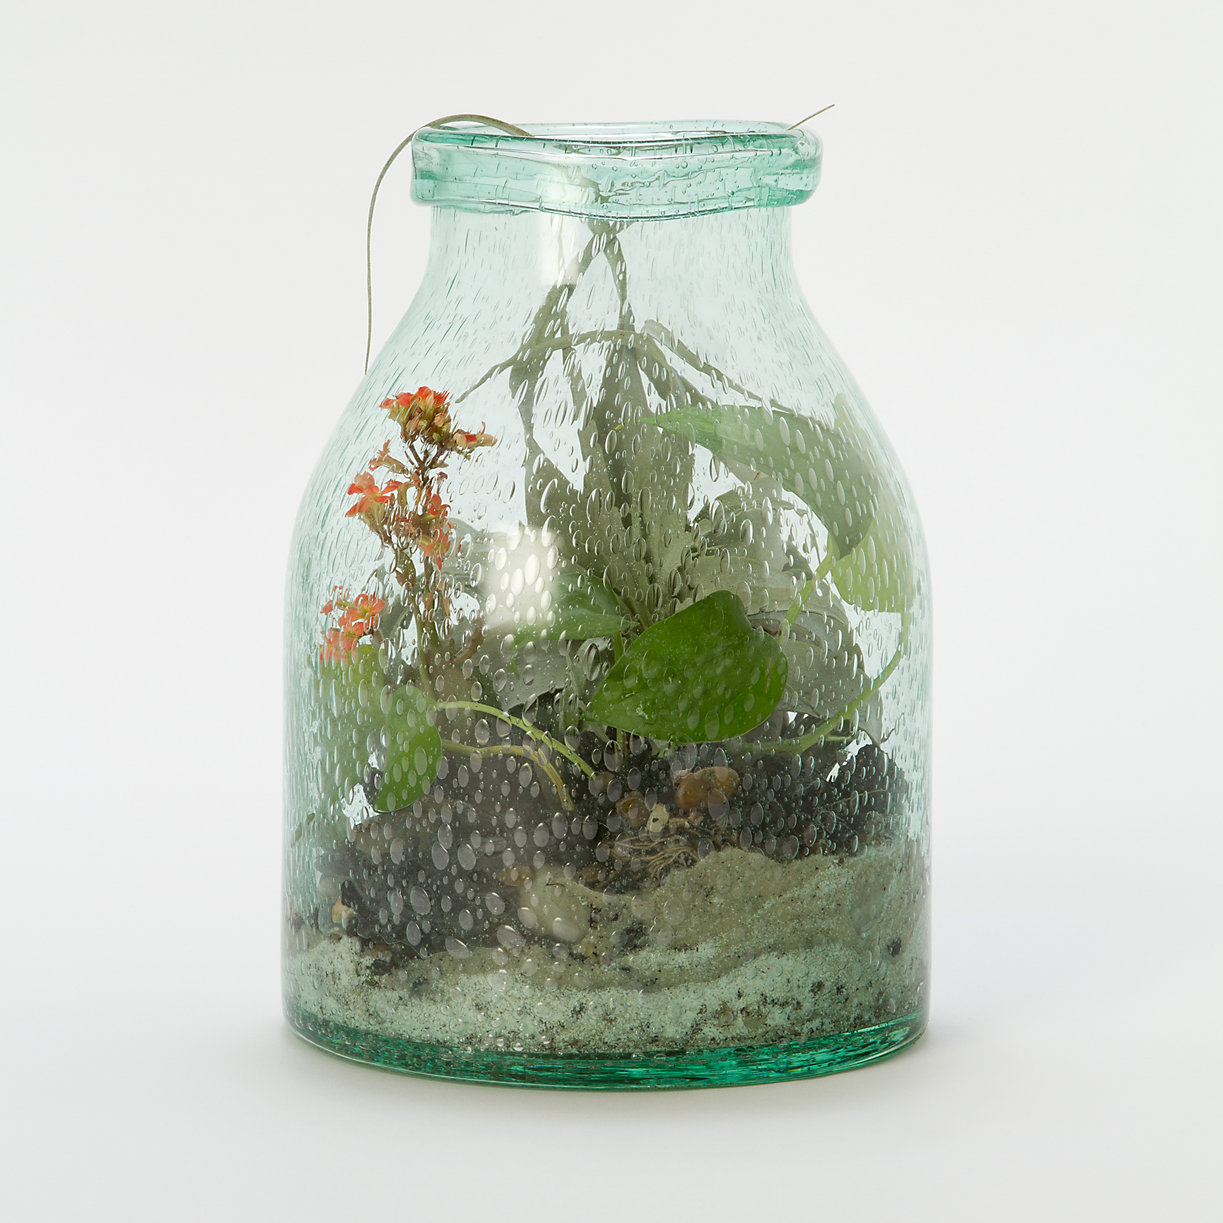
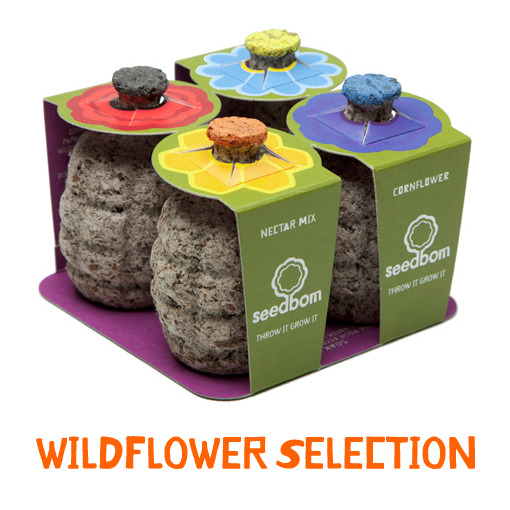



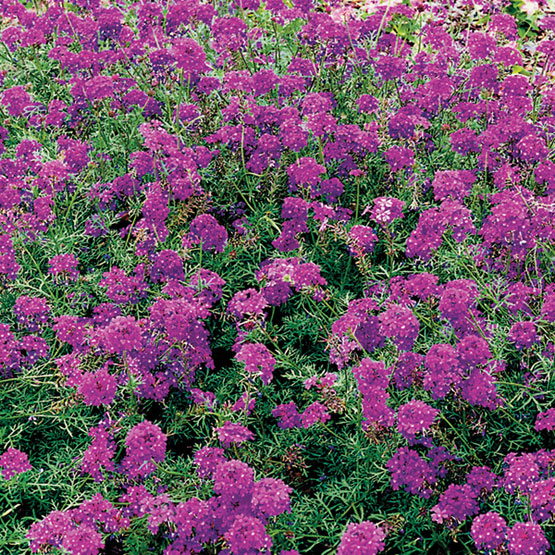
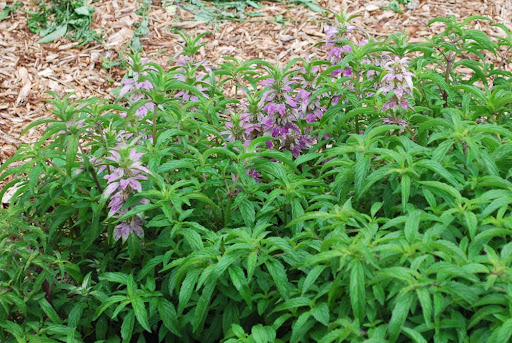
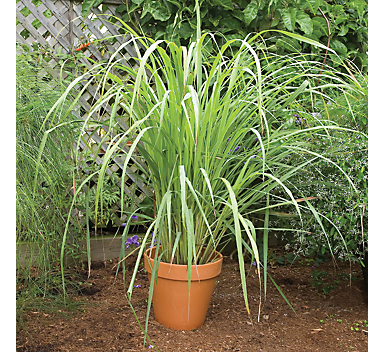 Citronella, or West Indian lemongrass[/caption]
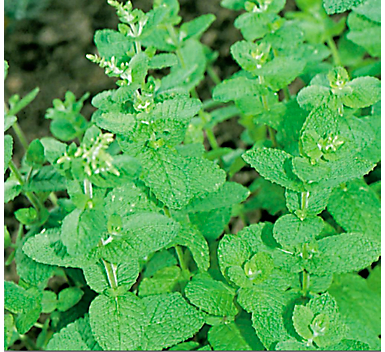 Catnip is said to be 10 times more effective than DEET in repelling mosquitoes.[/caption]